Back to main page...
MIDIbox SEQ V4
User Manual --- Installation
The MIDIbox SEQ V4 firmware is released as a precompiled binary, which can be easily updated via USB MIDI by using MIOS Studio. Details about the bootloader are explained here.
 Step by Step Step by Step
- it's assumed that you already tested the USB MIDI communication by pressing the Query button in MIOS Studio as explained in the Bootloader page - you should get some informations about the chip and the running application.
If this procedure sounds unfamiliar to you, please follow the hardware test procedure first as explained in the MBHP_CORE_STM32, MBHP_CORE_LPC17 resp. MBHP_CORE_STM32F4 page.
- download the latest midibox_seq_v4_* release package from the MIOS32 Download Page.
- unzip the .zip archive.
- load the project.hex file with the "Hex Upload" window of MIOS Studio and press the Start button.
- the new firmware will be transfered to your MIDIbox.
- once the "Upload completed" message is displayed by MIOS Studio (after ca. 20..30 seconds), your MIDIbox will reboot, and the new firmware will be started.
Working under Windows?
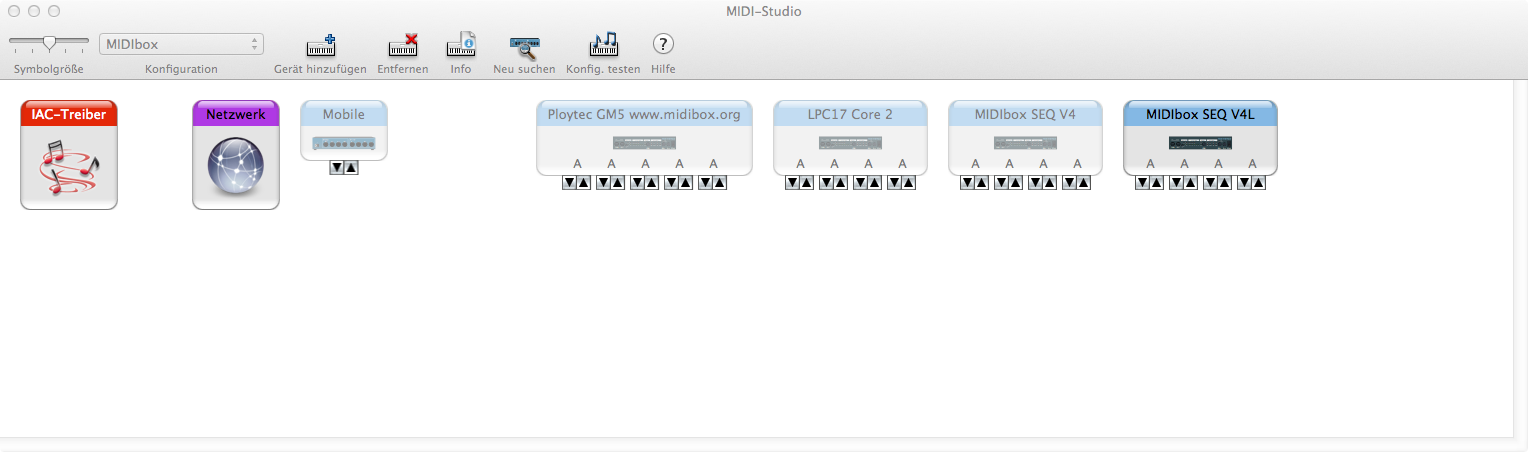
MIDIbox SEQ enables 4 USB MIDI ports. Unfortunately some windows versions can't handle this correctly: MIDI is stucking sometimes, Filebrowser operations are failing, etc.
In order to overcome this issue, sometimes it helps to install the GM5 USB MIDI driver, which can be downloaded from the MIOS32 Download page.
Unfortunately the GM5 driver can cause new issues if multiple cores are connected. And users reported that it doesn't work stable under Windows XP. In such cases it's recommended to force the usage of a single USB port which solves the MIDI transfer issues with the drawback of the reduced functionality.
So: if you notice MIDI transfer issues, please enable the single_usb option with the MIOS32 Bootloader update application.
Working under MacOS?
The USB MIDI implementation of MacOS is perfectly working, regardless of the number of USB MIDI ports!
So far we only noticed a minor issue when an app changes the number of USB MIDI ports or the device name. Such changes won't be taken over automatically, instead you've to delete the old interface description in the Audio-MIDI-Setup:
- start the Audio-MIDI-Setup of MacOS (e.g. search for "audio-midi" with Spotlight)
- disconnect the core module from USB
- delete the interface in the Audio-MIDI-Setup
- connect the core module to USB again
Thereafter you should see an interface with the new names and the right number of USB MIDI Ports:
Getting SD Card ready for next steps
The next steps require that MBSEQ can access the SD Card. Usually this will be possible without further preparation if the SD Card is already FAT32 formatted. If your SD Card is pre-initialized for a different file system, please enter:
sdcard_format yes, I'm sure
in MIOS Studio Terminal to format it for FAT32 from the MBSEQ firmware.
Please note that all data gets lost with this command! There is no UNDO function or trashcan available for this step! Therefore you've to be very sure that you won't destroy important data before executing this command! If you are unsure, it's preferable to format the SD Card from a PC which allows you to display the current content.
MBSEQ_HW.V4
Some premade configuration files are located in the hwcfg/ directory of the release package. One of these files has to be copied into the root directory of the SD Card. Adaptions can be made if the default setup doesn't already match with your hardware, such as LED/Button/Encoder assignments, optional Button/LED Matrix setup, AOUT interface type, etc.
As long as no SD Card is connected, or the file cannot be found, the standard V4 definitions will be used as documented in hwcfg/standard_v4/MBSEQ_HW.V4.
If your MIDIbox is based on Wilba's frontpanel, please use hwcfg/wilba/MBSEQ_HW.V4, otherwise the dedicated button and LED assignments won't work (see also special chapter below)!
A matching file can be uploaded with the Filebrowser which is integrated into MIOS Studio.
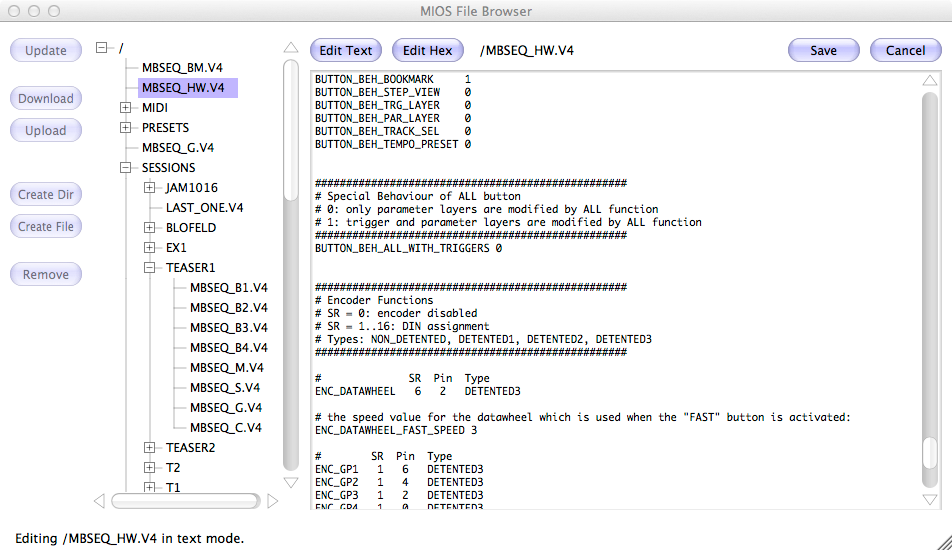
The "Update" button retrieves the directory structure. Once it has been read, files and directories can be selected in the directory tree.
Existing files can be downloaded to your computer at a speed of ca. 40..50 kb/s.
New files (like the MBSEQ_HW.V4) can be uploaded from your computer at a speed of ca. 10..20 kb/s.
You can use the integrated EDIT function to modify the MBSEQ_HW.V4 file for your needs. Push the SAVE button to store your changes on SD Card.
The file will be loaded (only once!) after startup. In distance to other configuration files, it won't be loaded again if the SD Card is reconnected to avoid sequencer hick-ups during runtime, and to cover the special case where files should be loaded from a SD card which contains a MBSEQ_HW.V4 file for a different hardware.
This means, that you've to power-cycle the core module to see the effects of your changes.
Alternatively - and this is the preferred method - just enter reset in the MIOS Terminal to restart the application.
Initial setup for Wilba's Frontpanel
Wilba's Frontpanel uses a special button/LED layout which is not compatible to the standard frontpanel. Accordingly, you won't be able to access the intended button functions as long as the standard assignments are active (e.g. no SD Card connected).
In order to get the frontpanel working correctly, please copy the prepared configuration file hwcfg/wilba/MBSEQ_HW.V4 into the root directory of the SD Card by using the Filebrowser.
Creating Pattern/Song/Mixer files
Some additional files are required for Patterns/Songs/Mixer pages. The firmware won't create them automatically, instead it will ask you to create a new session (press EXIT, then "New"). This will take some minutes - don't turn off your MIDIbox while files are generated (a percent bar informs you about the progress)!
Creating additional directories
Following directories have to be prepared with a computer by using the Filebrowser:
- sysex/: create additional directories named to your synthesizers in this directory (e.g. sysex/MBSID, sysex/MBFM), and copy .syx files into these subdirectories. The SysEx dumps can be sent from the SysEx menu page.
- midi/: copy your .mid files into this directory. They can be played or imported with the UTILIT->DISK->MIDI function. Exported files will be written into the midi/ directory as well.

Last update: 2026-03-13
Copyright © 1998-2026, Thorsten Klose. All rights reserved.
|